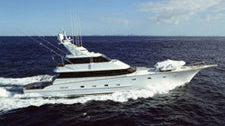





Dull, chalky gelcoat and faded yacht paint come back with one sequence: cut the oxidation out with a compound, remove the marks that compound leaves, refine to a clear finish, then seal it. Four products deep, in that order. The only real decision you make is which step you start from — and getting that wrong is what turns a two-day job into a five-day one.
This is the same process Sea-Shield uses on mega-yacht paint and on 25-year-old gelcoat, scaled down to what one person with a polisher can do.
The System at a Glance
 +
+ Step 01
Heavy Cut #1 + White Pad
Chalky, heavily oxidized gelcoat and deep scratches.
 +
Step 02
+
Step 02
Medium Compound + White Pad
Medium oxidation. Finishes down like a polish.
 +
+ Step 03
Swirl Remover #3 + Yellow Pad
Swirls, holograms and micro scratches.
 +
+ Step 04
Final Polish + Green Pad
Final gloss, and the prep a coating needs.
What Do You Do Before You Touch a Buffer?
Wash the surface with Sea-Shield Boat Soap or another quality marine soap, and let it dry completely.
This is not a formality. Every grain of salt, dirt and dock dust left on the hull becomes an abrasive the second the pad starts turning. Nearly every "where did these scratches come from" call traces back to buffing a surface that was never properly washed.
Which Step Should You Start From?
The system runs from most aggressive to least. Match your starting point to the condition of the surface, then confirm it with a small test patch before committing to a whole hull.
- Chalky, heavily oxidized gelcoat, deep scratches: start at Step 1, Heavy Cut #1
- Medium oxidation, dull but not chalky: start at Step 2, Medium Compound or Cut & Polish #2
- Sound paint with swirls, holograms or light haze: start at Step 3, Swirl Remover #3
- Good finish that just needs gloss before coating: start at Step 4, Final Polish
Always test with the least aggressive step you think might work. If it clears the surface, you just saved yourself a full pass over the boat. If it doesn't, step up.
Does the Surface Need Wet Sanding First?
Some surfaces are past what a compound can fix on its own — extreme oxidation, deep scratches, heavy orange peel. Those need sanding before any buffing starts.
Two rules matter more than everything else:
- Work up through the grits in order and never skip one (800, 1000, 2000, 4000). Skip a grit and the scratches from the coarser paper never come out — you just polish them to a shine.
- Keep even, overlapping pressure and a consistent speed, following the pattern shown further down.
On gelcoat, go straight from sanding into the polishing steps. On paint, finish through your finest grit first. And if the surface is merely dull rather than damaged, skip sanding entirely — a compound does the same work with far less risk.
Step 1: Heavy Cut #1 for Heavy Oxidation
+
Step 01 · The pairing
Heavy Cut #1 on the White Cut & Polish Pad
The heaviest correction in the range, on a rotary at 1200–1800 RPM. Use it when the gelcoat is chalky and a lighter compound won't touch it.
Run it on a rotary polisher — Makita 9227, DeWalt DW849, Festool Shinex or equivalent.
- Spread the product over the section with the pad before switching the machine on
- Lay the buffer flat and work at 1200–1800 RPM
- Buff side to side and up and down, even overlapping passes
- Once the heavy blemishes are gone, wipe the section down completely and move to Step 2
Three things that will cost you if you ignore them:
- Keep the pad flat. Buffing on the edge concentrates heat and pressure in one spot and can burn through paint.
- Never spread past 3'x5' (1m x 1.5m), and never let product sit more than a minute before buffing. A dried-out compound stops cutting entirely and just smears.
- Porous surfaces drink the lubricant. If the compound keeps drying prematurely, mix in Sea-Shield Buffing Lube for more working time.
Step 2: Medium Compound or Cut & Polish #2
or Step 02 · Both run on the White Pad
Medium Compound or Cut & Polish #2
Medium Compound cuts medium oxidation and finishes like a polish. Cut & Polish #2 has more bite and buffing lube built into the formula.
This is the middle of the system and where most jobs genuinely begin. Both products run on the White Cut & Polish Pad, same technique, same 1200–1800 RPM.
Sea-Shield Medium Compound often saves you a step outright, because it finishes down far enough that you can go straight to a light polish. It works on a wool pad and just as well on foam with a DA.
Sea-Shield Cut & Polish #2 is the better call on medium-to-heavy oxidation, or on a surface that keeps drying your product out.
Whichever you run, keep going until every Heavy Cut #1 scratch and the lighter blemishes are gone, then wipe the section thoroughly. Compound dust left behind gets dragged straight into the next step. Still deciding between them? Our compound comparison lays it out.
Step 3: Swirl Remover #3 for Swirls and Holograms
++
Step 03 · Rotary, then DA
Swirl Remover #3 on the Yellow Pad, then the Green Pad
The same product runs twice: rotary with the yellow pad to kill the swirls, then a DA pass with the green finishing pad to clear the micro scratches.
- Lay down a single thin line of product — it spreads about a foot (0.3m) either side
- Drop the polisher to its lowest speed and spread evenly
- Bring it up to 1200–1800 RPM and buff until the swirls and heavier marks are gone
- Wipe the area and move to the DA pass
The DA pass. Fit the Green Final Finishing Pad to a dual-action polisher and put a small amount of Swirl Remover #3 on the pad itself. Set the pad flat on the surface before switching on. Spread at speed 2, then work at 4–5, pressing firmly and going over the area several times. Stop when the surface is free of swirl marks and most micro scratches, then wipe with a clean microfiber towel.
One useful exception: on surfaces that don't need a compound but still need more bite than the yellow pad delivers, Swirl Remover #3 also runs on the White Cut & Polish Pad. On certain gelcoats and paints the white pad actually finishes with better clarity.
Step 4: Final Polish Before You Coat
+
Step 04 · The pairing
Final Polish on the Green Final Finishing Pad
Finishes especially well on dark and colored hulls, and leaves the surface clean and oil-free — exactly what a ceramic coating needs to bond to.
This is the last correction step, and the one that decides how everything on top of it looks. Work it by hand on small areas, or on a DA with the Green Final Finishing Pad for larger panels.
How Do You Protect the Finish You Just Created?
A corrected surface with nothing on it starts oxidizing again immediately. Everything you just did has a shelf life measured in weeks unless you seal it.
First, wipe the surface down with Sea-Shield Surface Prep or Sea-Shield MPC. Coatings bond to bare paint and gelcoat, not to leftover polish oils.
 +
+ DIY ceramic
Crew + PolyCeramic
Easier to apply and forgiving. PolyCeramic stretches the coverage.
 /
/ Pro ceramic
Professional / Graphene
The flagship for durability; Graphene for maximum gloss.
 +
+ 2-part system
Nano Coating + Exhaust Guard
Polymer base, then the wax that stops exhaust streaks sticking.
Ceramic coating — the longest-lasting option
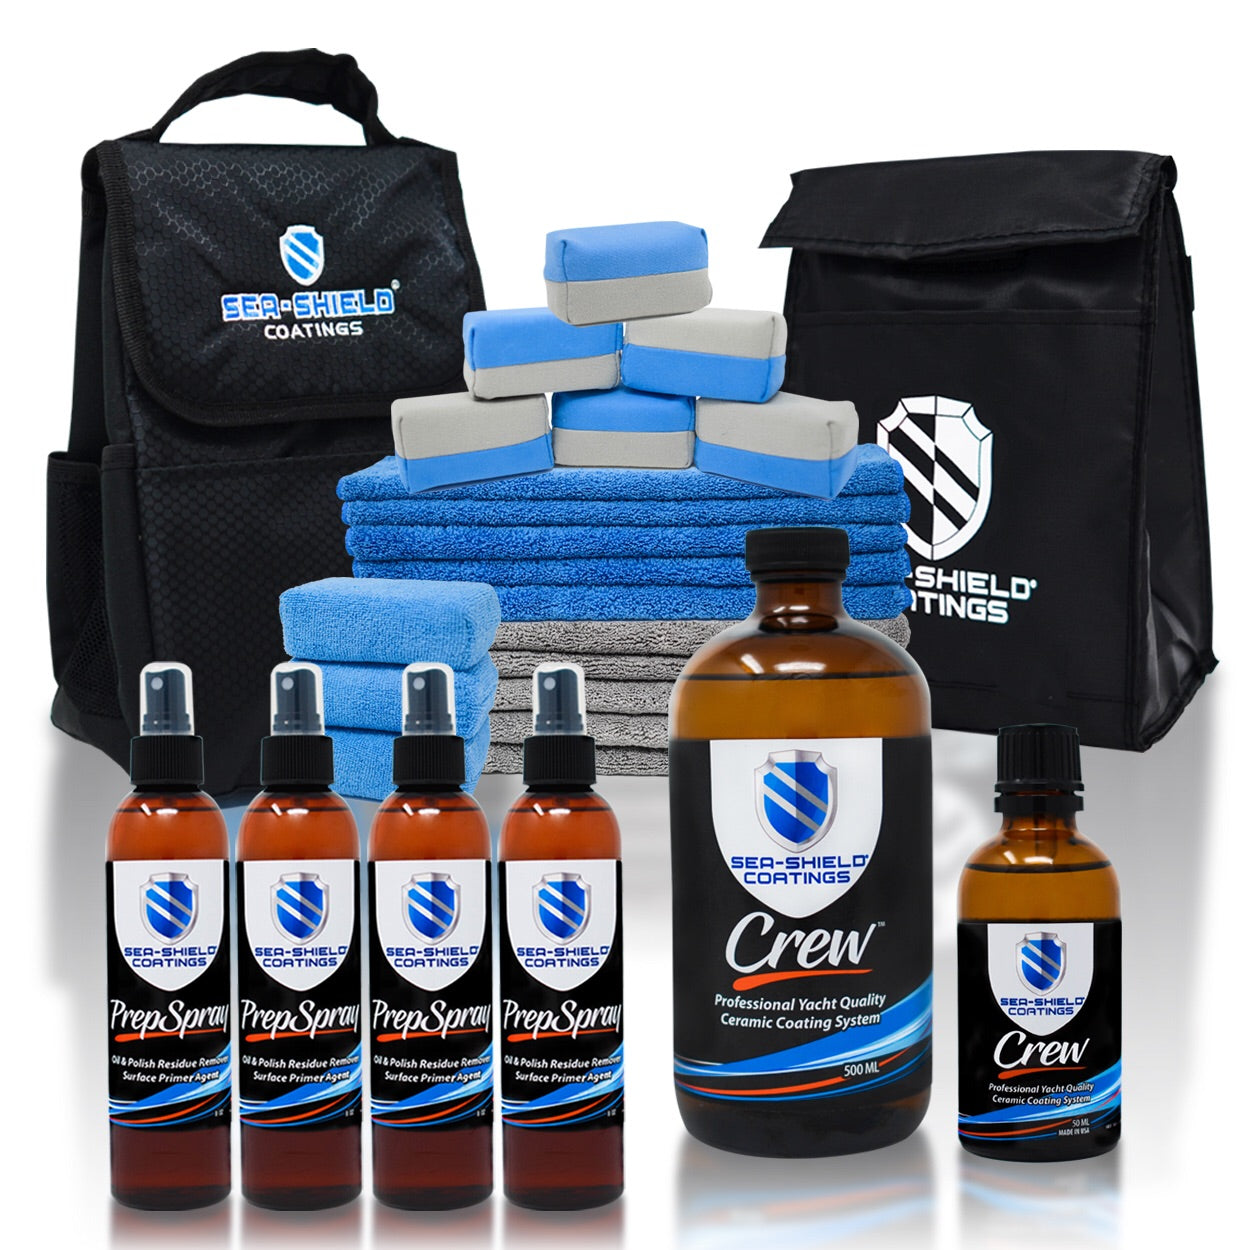
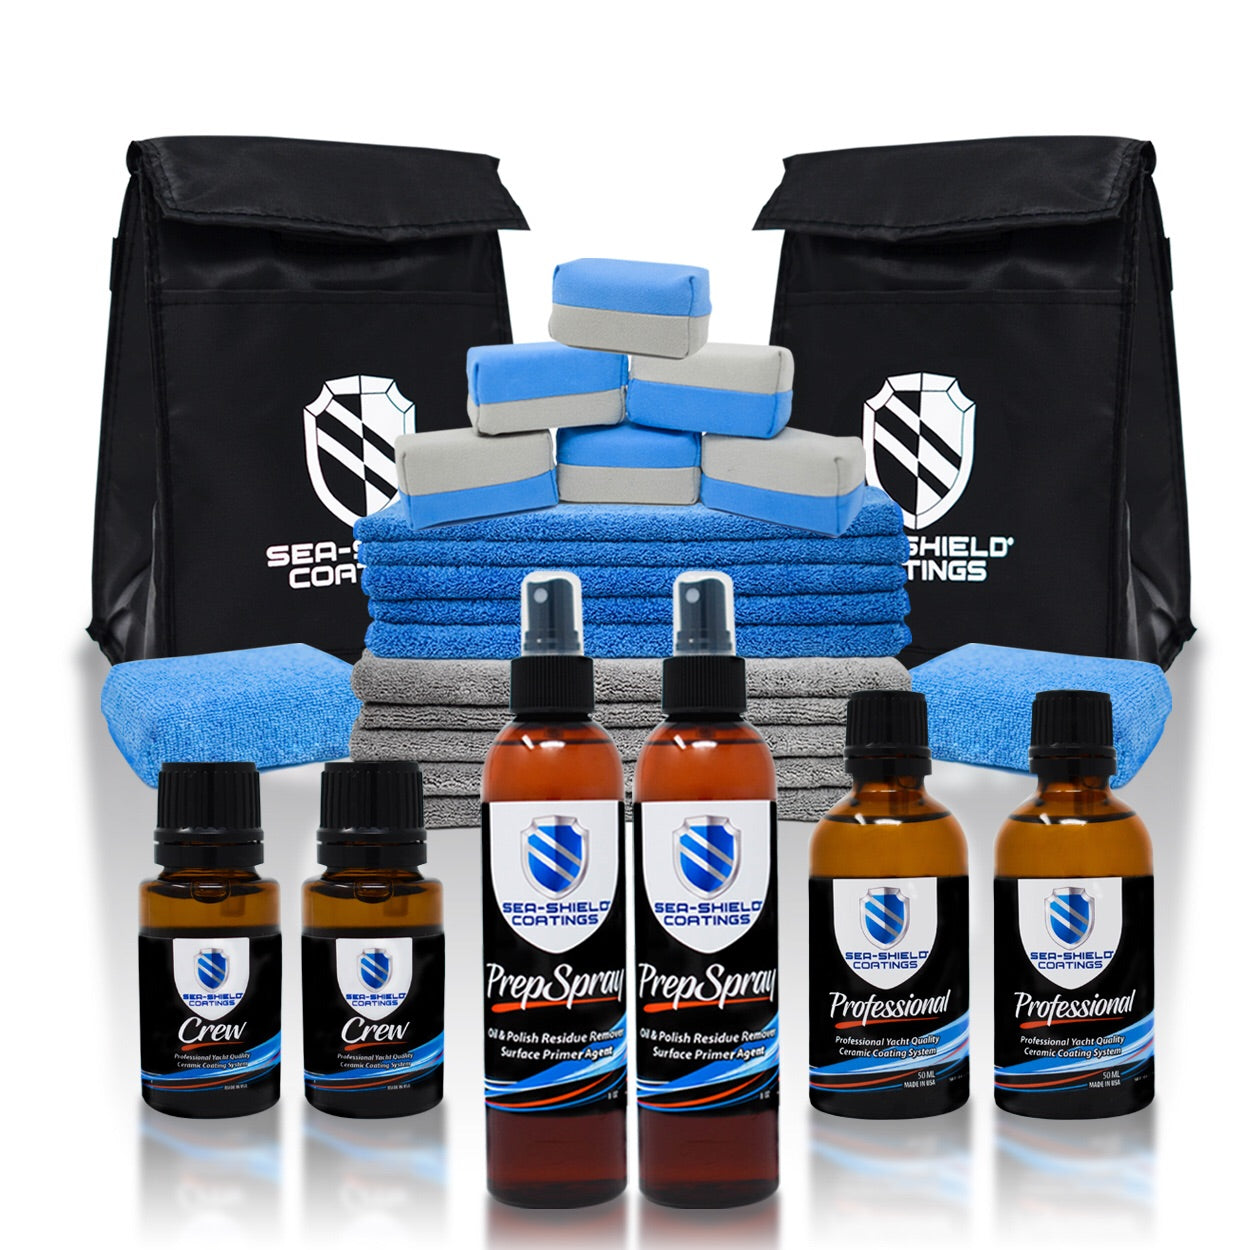
Crew is the DIY-friendly ceramic: easier to apply, more forgiving, strong protection. Professional is the flagship and the most durable of the range, built for experienced applicators. Graphene is formulated for extra gloss alongside the durability.
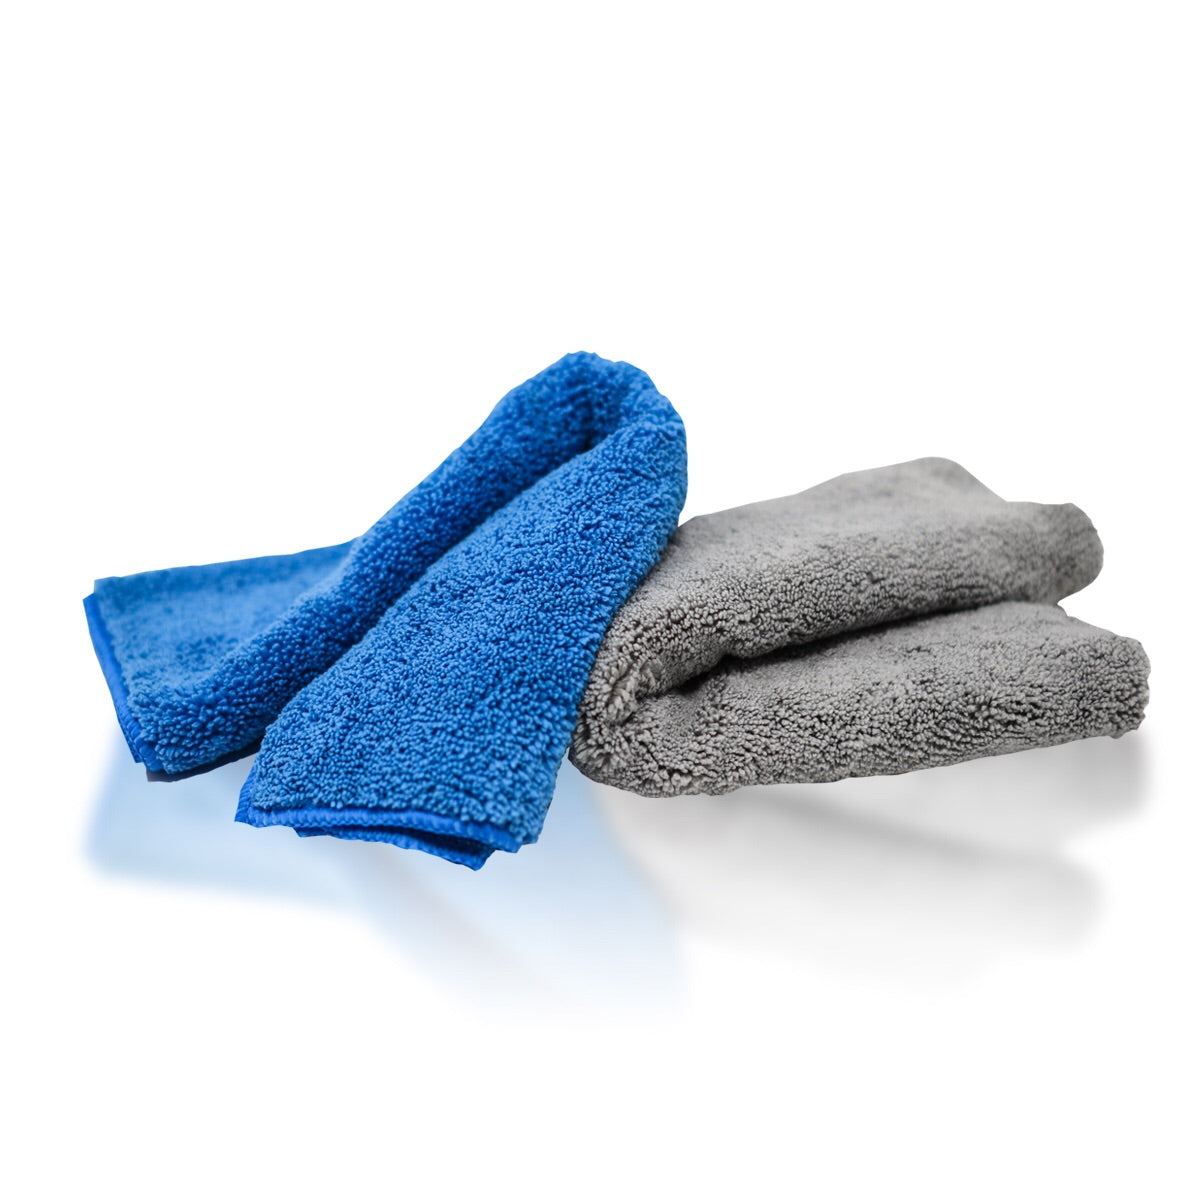
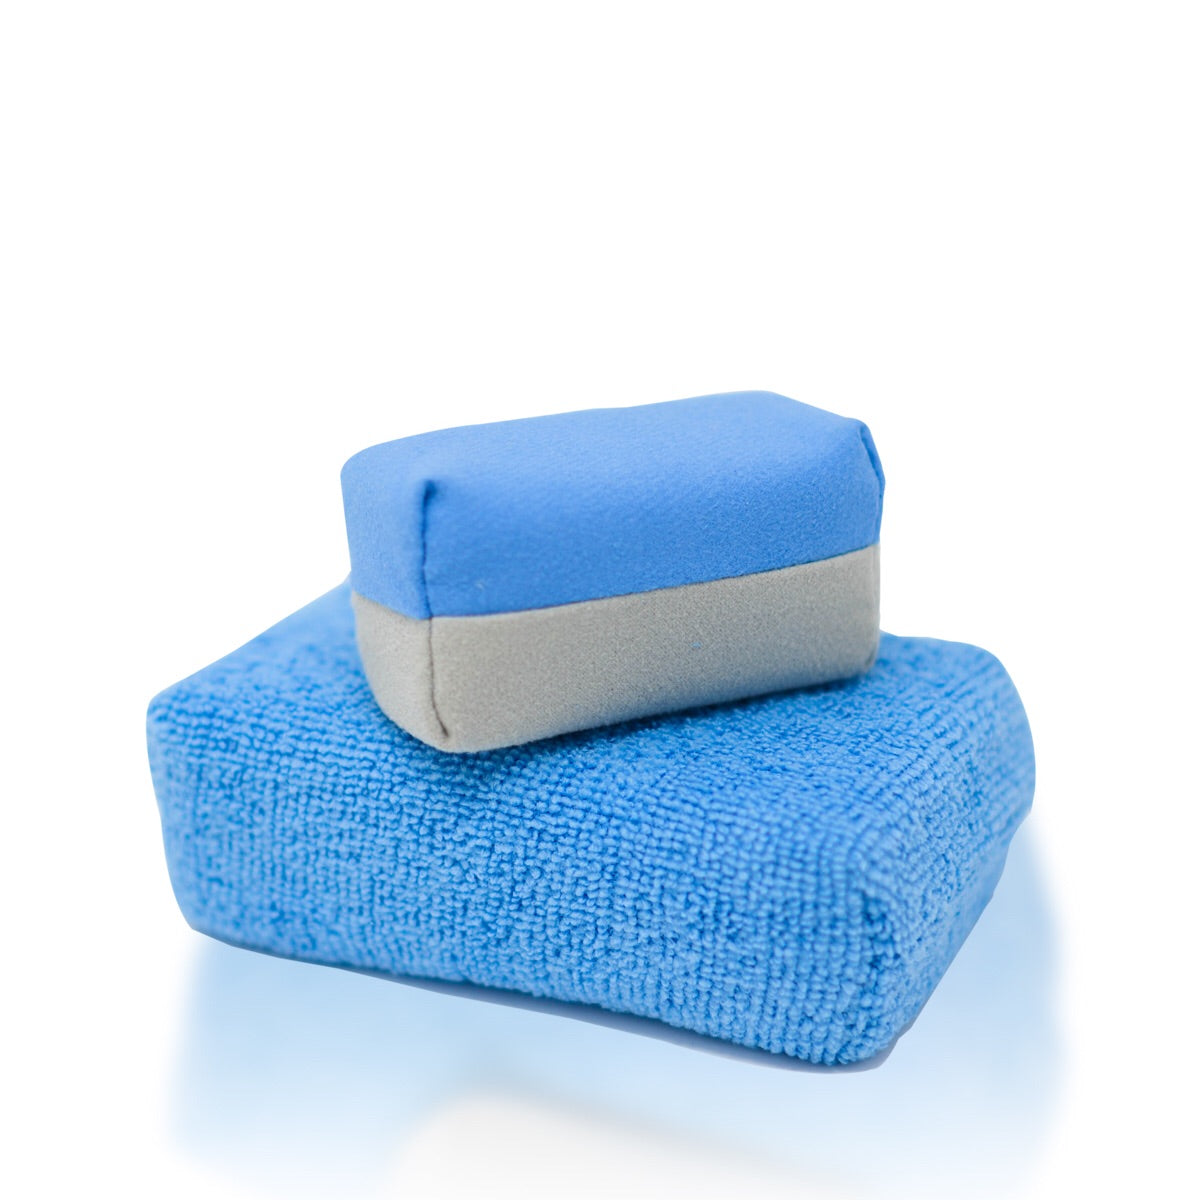
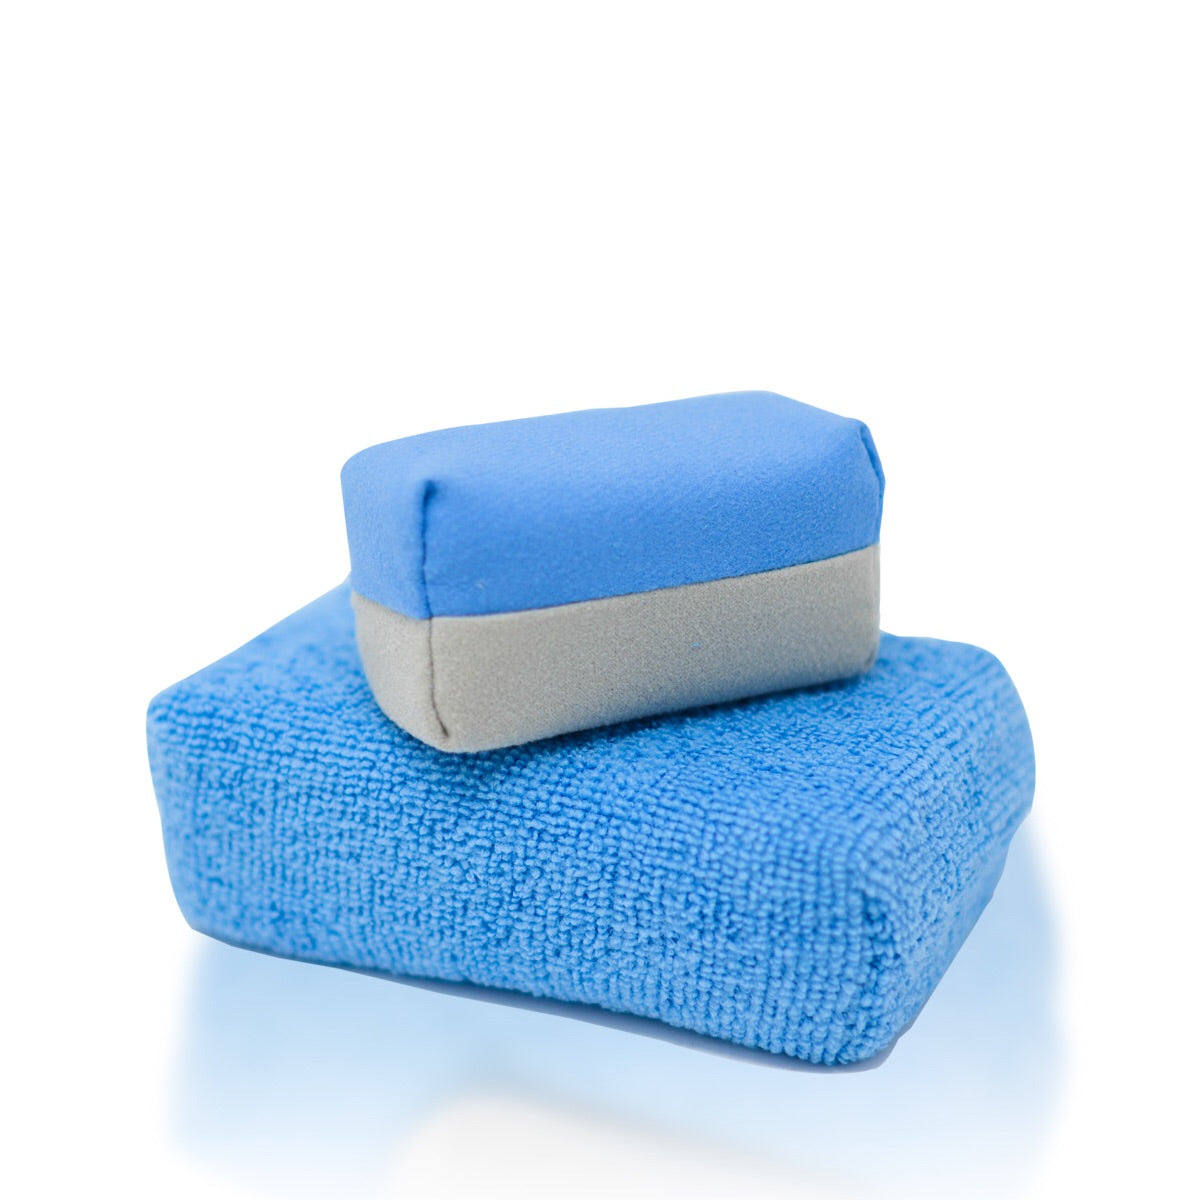
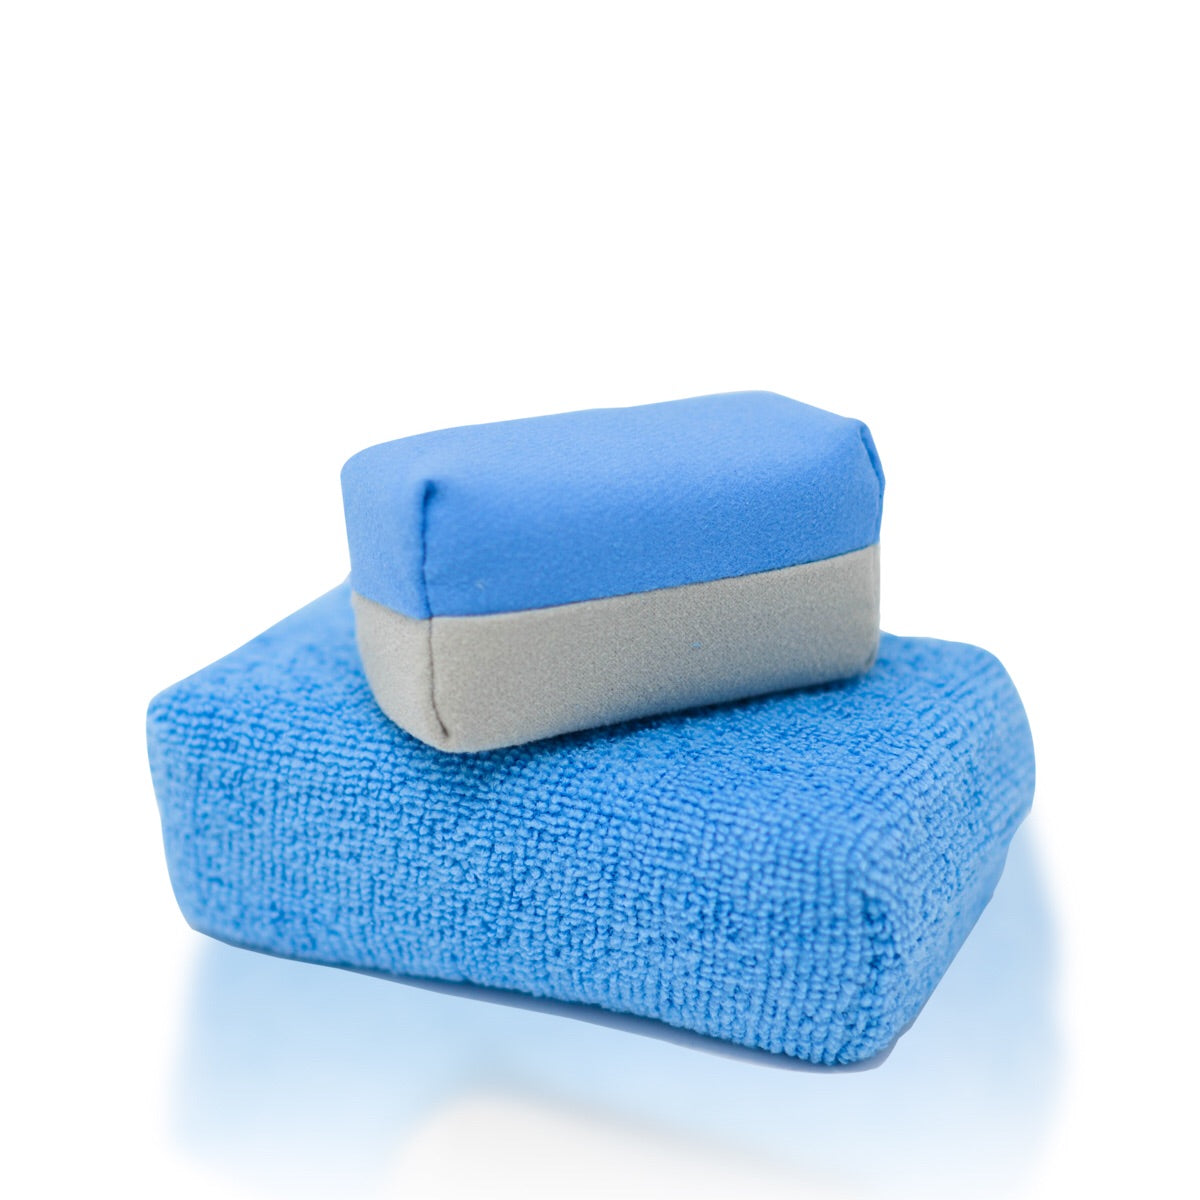
Spray a small amount into a Sea-Shield Applicator, lay down a thin even coat, and wipe the excess with a quality microfiber towel within a few minutes. Don't saturate the surface or the applicator, and don't overspray.
PolyCeramic — the booster
PolyCeramic is an additive, not a standalone coating. Mixed into Crew or Professional it helps the coating stretch further, so one bottle covers more hull. Mixed into Exhaust Guard it turns a standard synthetic wax into a hybrid with more gloss and more durability — the full method is here.
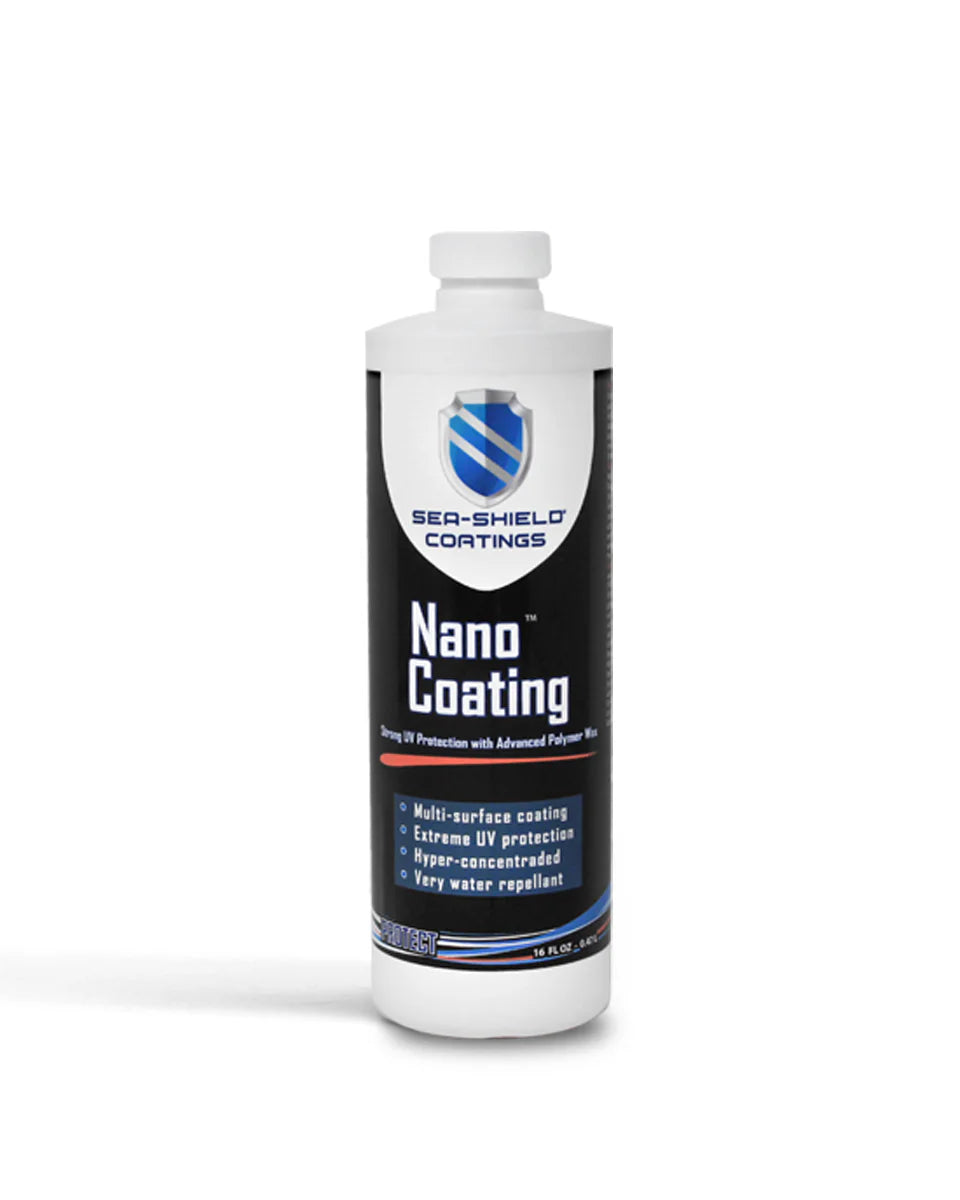
Nano Coating and Exhaust Guard — the 2-part system
Sea-Shield Nano Coating goes on the same way: sprayed into an applicator, thin even coat, excess wiped within a few minutes. It takes 5–12 hours to fully cure depending on temperature.
If overspray cures on the surface, buffing with Swirl Remover #3 and a white pad usually removes it. Don't reach for cleaners — the coating is built to survive harsh chemicals, which is exactly why they won't shift it.
Sea-Shield Exhaust Guard is the second half of that system, and the answer to black streaks and exhaust residue baking onto the hull. Apply by hand, or with a 5 in. backing plate and a White Sealing Pad. A thin line spreads about 1.5 ft (0.5m) either side — cover a 3'x5' section quickly and evenly, then wipe off immediately with a quality microfiber towel. Going over Nano Coating, make sure any cured wipe streaks are removed first.
Which Protection Should You Choose?
- Longest life, professional application: Professional ceramic coating, with PolyCeramic for coverage
- Long life, DIY application: Crew ceramic coating, with PolyCeramic
- Maximum gloss: Graphene
- Fast turnaround and exhaust-streak protection: Exhaust Guard, or Exhaust Guard with PolyCeramic mixed in
- 2-part polymer system: Nano Coating followed by Exhaust Guard
Worth being clear on one point people get wrong: Exhaust Guard is a wax, and it's used in place of a ceramic coating rather than layered over one. For how long each level of protection realistically lasts, see Marine Ceramic Coating vs. Wax.
The Buffing Pattern
Every sanding, compounding and polishing step above uses the same movement across the panel: even, overlapping passes, side to side and up and down, at a consistent speed. No hovering in one spot, no random circles.
 The buffing and sanding pattern.
What Ruins a Buff Job?
- Buffing a surface that was never properly washed
- Working on the edge of the pad instead of flat
- Spreading product over more than 3'x5', or letting it dry before buffing
- Skipping a grit when sanding, or skipping a correction step and hoping the next one catches up
- Not wiping compound dust off before starting the following step
- Coating a surface that still has polish oils on it
Frequently Asked Questions
Where do I start if I don't know how bad the oxidation is?
Run a small test patch with the least aggressive step you think might work — usually Medium Compound or Cut & Polish #2. If it clears the surface, you've saved a step. If it doesn't, move up to Heavy Cut #1.
What RPM should I buff at?
1200–1800 RPM on a rotary for all compounding and swirl-removal steps. On a DA, spread at speed 2 and work at 4–5.
Do I need a rotary polisher, or is a DA enough?
Heavy oxidation really needs a rotary with a wool pad to cut in reasonable time. A DA with a foam pad handles Medium Compound, the Swirl Remover #3 finishing pass and Final Polish comfortably — and it's far more forgiving on paint.
Why does my compound keep drying out before I can buff it?
Porous gelcoat and some paints absorb the lubricant out of a compound. Mix in Sea-Shield Buffing Lube, work smaller sections, and keep it under a minute from spreading to buffing.
How long before the boat goes back in the water after coating?
Nano Coating takes 5–12 hours to fully cure depending on temperature. Give any coating its full cure window before exposing it to salt water and washing.
Can I coat over old wax?
No. Wipe down with Sea-Shield Surface Prep or Sea-Shield MPC first. Coatings bond to bare paint and gelcoat, not to wax or polish residue.
Everything Used in This Guide
- Sea-Shield Boat Soap — wash down before buffing
- Sea-Shield Heavy Cut #1 — heavy oxidation and deep scratches
- Sea-Shield Medium Compound — medium oxidation, finishes like a polish
- Sea-Shield Cut & Polish #2 — medium-to-heavy cut with built-in lube
- Sea-Shield Swirl Remover #3 — swirls, holograms, micro scratches
- Sea-Shield Final Polish — final gloss and coating prep
- Sea-Shield Buffing Lube — extra working time on porous surfaces
- White Cut & Polish Pad, 9 in. — compounding pad
- Yellow Polishing Pad, 9 in. — swirl removal on a rotary
- Green Final Finishing Pad, 6 in. — DA finishing
- White Sealing Pad, 6 in. — wax and sealant application
- Sea-Shield Surface Prep — pre-coating wipe-down
- Crew Ceramic Coating · Professional · Graphene
- Sea-Shield PolyCeramic — coverage and durability booster
- Sea-Shield Nano Coating · Exhaust Guard
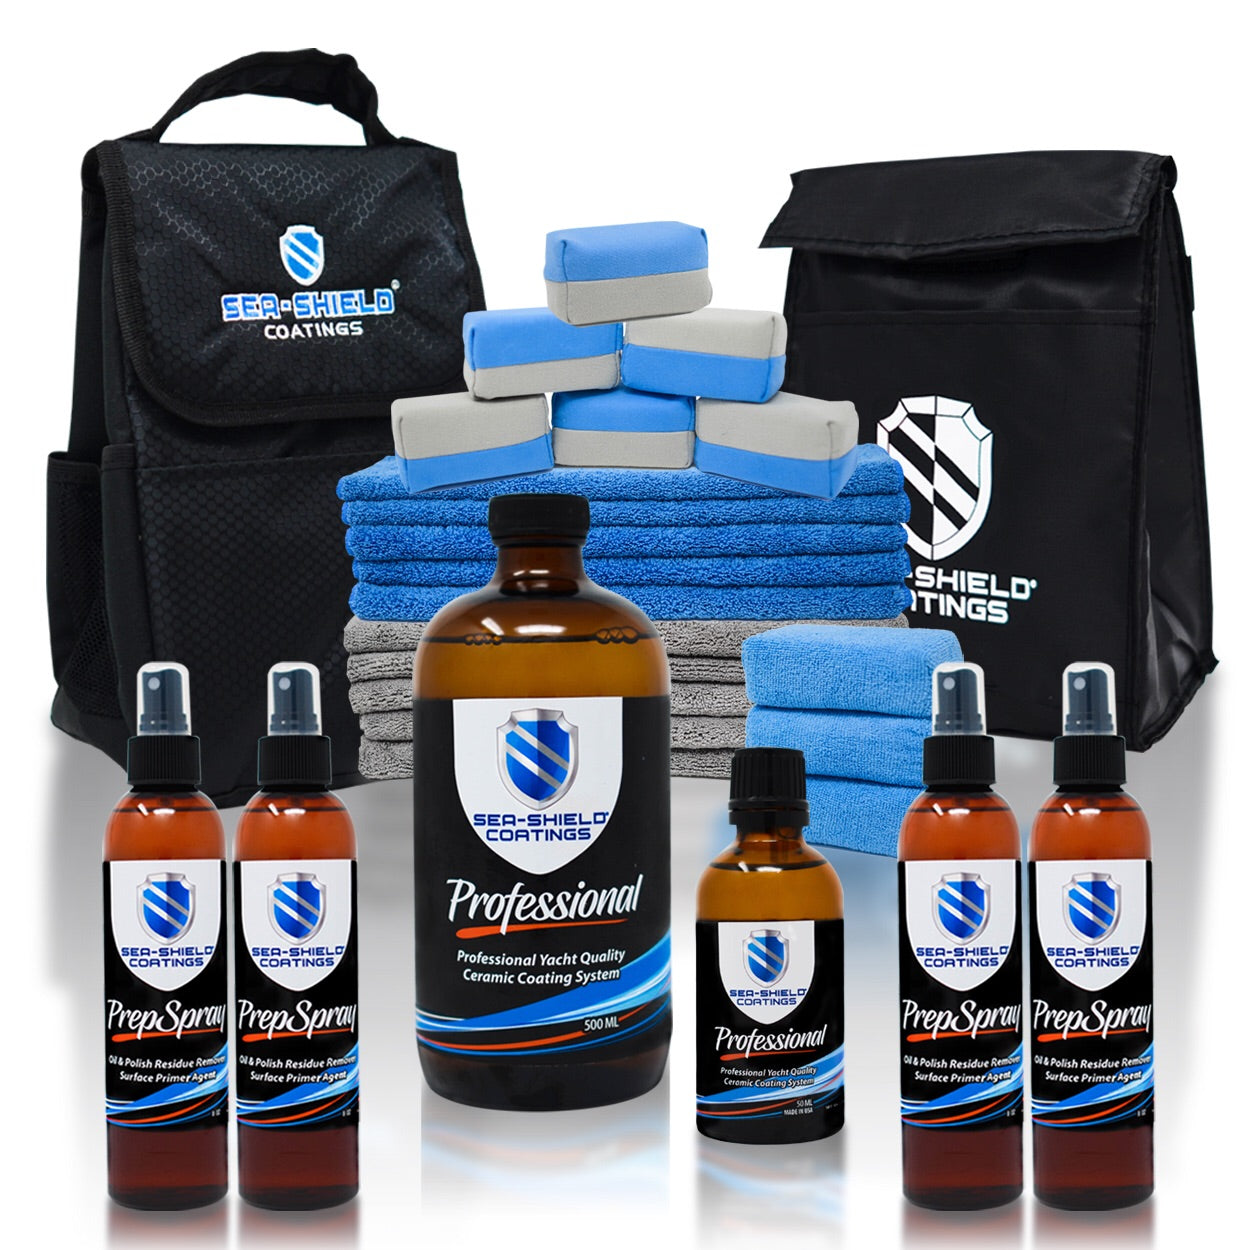
Building a kit from scratch? Choosing the Right Boat Buffing Kit covers what to buy first. Working on Awlgrip specifically? Start with How to Remove Heavy Oxidation from Awlgrip Paint Fast.
Want this as a printable shop reference? The step-by-step instructions are also available as a downloadable PDF.